I always start with the face and color a pink "blush". Then I start to draw the outline with skinwhite before I go on.

Then I color the rest of the face moving in a circular motion. The pink circles will blend in with the skintone and make a nice blush. The ink was still wet when I took the photo. It will look softer when it dry.

I draw some grey lines (warm grey 3) for shadows...

...and the grey will blend in with the color and make great shadows. You can also use the pen that you use and make som extra drawings to make it darker. I also use some darker pen in the same color (see the shoes later) but mostly I start with the grey and if I´m not satisfied with the result I use the others.

Here I started to use the grey for shadows...

..and then added some darker brown for the shoes...

which turned out like this. It dosen´t matter if there´s some color outside the lines because I always finish it with a light grey line to make a shadow and it sure makes a great difference.

The final result!

You can see how Veronica addes some "highlights" with her white gel pen. It just helps to give the image a little more detail! Thank you Veronica for sharing that with us!
Jenn and Tammy both worked on layouts with Friday's sketch. Take a look at Tammy's...
 Tammy used the QK Scallop Border, Revolution Label, Doublekutz Heart Pendant, Revolution Heart, and Banana Split font. What a cute layout!
And here's Jenn's...
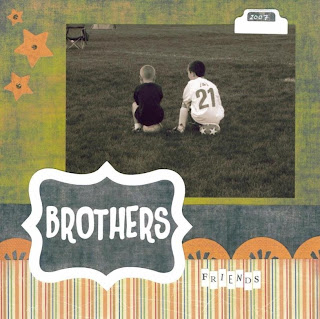
 Jenn decided to condense the sketch down to an 8x8 size. She used the Chick-a-Dee font for her title. See, it's not just for girly stuff! It looks great on her boys' layout! To create the scallop behind the label, Jenn used the new Sunburst Border. She used her Silhouette to cut the label. Jenn also used the Folded Tab and the retired Star Doodads. I'm glad to see Jenn put the masculine twist on the sketch!
Okay, you still have time to get yours in! Next Friday you'll see a card sketch so get ready! I hope you enjoyed today's post and hopefully you've learned something about coloring with Copics. Maybe now they won't seem so intimidating. If you have some projects you'd like to share send them to me at Katie@scrap-mart.com! Thanks for stoppin' by today. I hope you enjoy what's left of your weekend! We'll see you back here for our regularly scheduled Monday post!
Katie


5 comments:
Great tutorial veronica, thanks. Loving seeing the silhouette in action Jenn. and Tammy, that is one cutie patootie!
So w/ copics is all the ability for the shadowing processes because it takes a long time to dry? And for example once you start the shoes--shadow, color, finish--you need to finish it all in one setting before it gets dry? Or do you actually wet the project like with some colored pencils that can be used dry like normal or wet to blend?
Jill,
alcohol evaporates really quickly. you dont have long to wait for things to dry if you are waiting.
In turn, start with working in small areas when you are learning to blend, as this will give you plenty of time to learn how long you have got for 'blending time' before the two colours dry out or 'set'.
another tip is if your first colour is getting a bit dry for blending, tap another bit of colour on top before it dries completely. It will give you a slightly darker shade, so just a small dab where needed. The extra colour you dabbed, will give you the extra moisture to blend.
And don't outline 'right-up' to the outline of your image. The idea of these pens is about even spreading of ink. so practice leaving a smidgen of a gap before the outline. Your colour will bleed right up to the line for you. Hope this makes sense.
Veronicas tutorial makes a great start and once you have a pen in your hand, try and copy her project. It will all click into place.
Thanks Lainey!
Thanks Lainey for answering for me. I wrote a long answer with some tips of how I do yesterday but it dissapered .. I don't know what happened. So thanks again=)
/Veronica
Post a Comment