Over the next few weeks, I plan on showing you several TIPS, TRICKS, and HOW-TO videos. These are just little techniques that I have used for years and never gave them a second thought. In the back of my mind, I guess, I think that all scrapbookers and card makers are privy to this information but I was recently reminded that we are all on different levels of the art. Some of you are beginners while others have been doing this for years.
When I show my work I get emails asking, "How did you do that?" or "What is the secret to getting that to look that way?" Most of the time it is a simple technique that gets the end results. You have to remember if it is difficult I don't do it!
This particular video is on how to flip a die cut to get a mirror image without having ragged/rough edges. You can use this technique to make two of the same object go in the opposite directions such as when I did the "I'm Nuts About You Card" or when I made the "M & M Santa" have boots and mittens.
Watch it and leave me a comment or two on whether or not this was helpful to you OR if there is something you see on our blog and want more information on, leave us a comment and we will see if we can help you out with that in a future video.
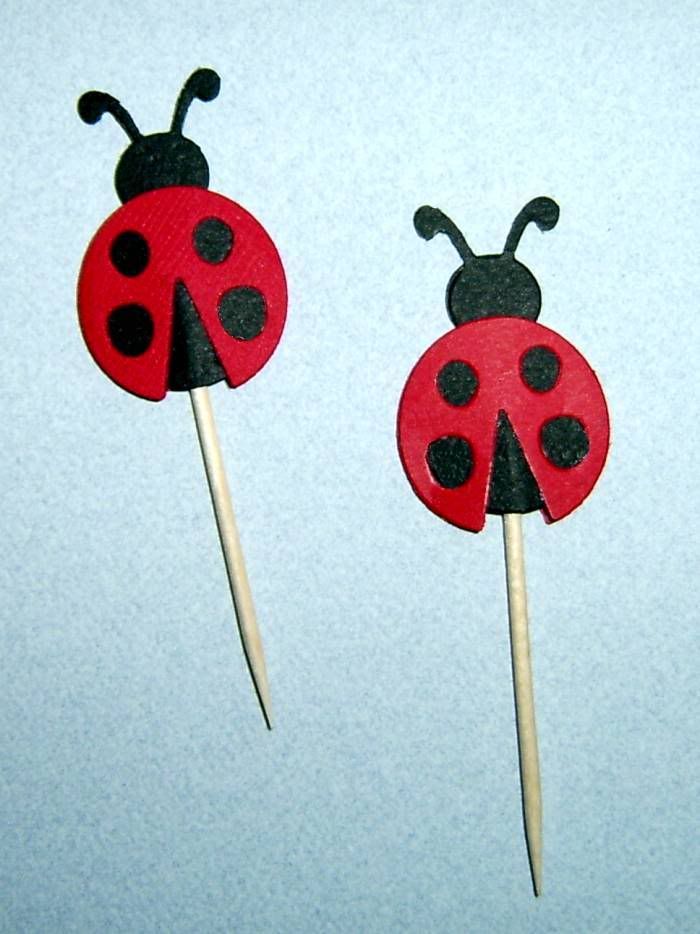
To do this technique you will need a die of your choice, a stylus , a hard surface to work on, adhesive of your choice. On the card in the video I used the QuicKutz SQUIRREL on the Santa I used the QuicKutz BOOT, and Boss Kut OVEN MITT, and for the Cupcake Pick I used the QuicKutz Lady Bug.
A very special THANK YOU to my daughter, Breanna, for taking time out of her day to help me video tape. (She was behind the camera.)
I hope that you enjoyed the video and that it was helpful.
Happy Scrappin'!
Brenda
Before we end today I want to show you some more projects with the Quickutz January Release. These dies are soooooo versatile! I LOVE them all! They also released some shapes for the Silhouette. Look what Jenn did with the Donkey Silhouette shape!
 Don't adjust your monitors...you're seeing it correctly! That's right, Jenn turned the Donkey into a Zebra! How cool is that?! She simply cut the image twice and layered them together! So cute! And, this shape is available as a Revolution Die or as a Silhouette Download!
Now look at this card!
 That Revolution Cupcake is YUMMY! I love that die! Notice the embossed background. I used the Cuttlebug Number Collage Embossing Folder and dabbed it with ink after I embossed. For the cherry, I actually cut it from white cardstock then colored it with my Copic marker. That's a tip I got from DT member Veronica! It worked great! Then, after I colored and blended it I covered it with Diamond Glaze to give it a nice shine. I used my Spellbinders Nestabilities to create the scallop circle and mat and the Spellbinders Double End Tags. A bit of ribbon and some brads and that's it! I intentionally chose softer colors and kept the color pallet to a minimum. Here's a closeup view:
Well, that's all for today! We hope you've enjoyed it! Our DT is busy getting more videos and projects together so stay tuned. The subscriptions are rollin' in...thank you! And, Jill pointed out that there are two sign-ups on the upper part of the blog. The Feedblitz will get you the blog posts automatically sent to your inbox and the newsletter will get you all the great updates from the store like sales, releases and such. Thanks Jill for noting that! We'll see you back here Friday with some more great projects from both the December and January releases! Thanks for stoppin' by!
Katie


8 comments:
Great video! I can't wait to try it! Thank you for explaining everything so well. I hope you keep these on Archive so we can go back to review them again when we need.
Brenda - excellent explanations! It really helped to see and hear as you worked. I will definitely keep your tips in mind when using die kuts. I really look forward to more Tips, Tricks and Technique videos from you. You ROCK!!
I agree with Vicky hope that the videos stay available ! I loved this one, I've missed the "how to videos".. always great to have a refresher on things.. and even I who's been scrapping for a while learned a NEW trick ! Thanks for the great video Brenda.. look forward to more from you.. can't wait..
I like the idea of the how-to videos. The more tips and tricks I get the more I use my machine and dies. I get bored easily and it looks like these videos will help.
I love that birthday card.
It has been awhile since you have posted a video! Way to go. It looks like Brenda is getting more comfortable in front of the camera and it was a great tip.
This blog post was great!
Great work. You are such a pro and now I can pretend like I'm one too.
-Margie
What a GREAT video! Thanks for sharing, Brenda! I learned several things that will help me: how to easily cut a die that will mirror-image well, how to use the Revolution (dang, you made it look so easy now I want one....) and how to use the stylus to smooth out rough edges. I also thought it was a super idea to make the little toothpicks--what a creative yet simple decoration.
That cupcake looks good enough to gobble...now I want some dessert.
Looking forward to the next video!
Oh my goodnes, that zebra is adorable!
Post a Comment